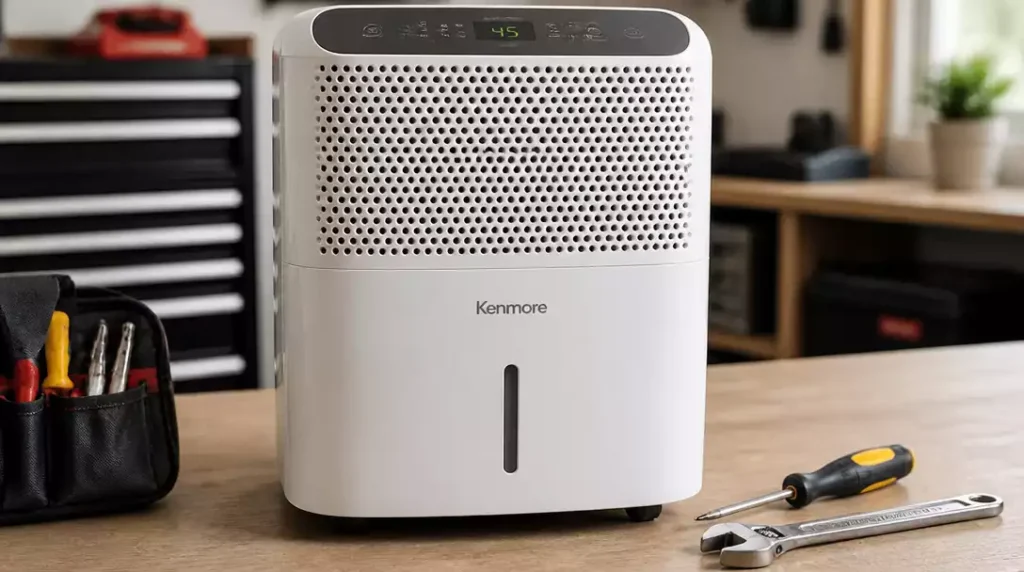
When faced with a malfunctioning Kenmore dehumidifier, understanding common issues and their solutions can save you time and money. Let’s explore essential insights that will empower you to troubleshoot effectively.
What You Will Learn
- How to identify symptoms of a non-working dehumidifier, such as power issues or insufficient water collection.
- Steps to troubleshoot common problems like a full bucket light and low humidity levels.
- Key factors to consider when deciding whether to repair or replace your unit, including repair costs and age.
- Maintenance tips to extend the lifespan of your dehumidifier, such as regular filter cleaning and testing after repairs.
Troubleshooting Your Kenmore Dehumidifier: Common Issues and Immediate Fixes
If you’re facing issues with your Kenmore dehumidifier, you’re not alone! Many homeowners encounter similar problems, and I know how frustrating it can be when humidity control isn’t working as it should. Fortunately, by identifying the symptoms, you can often find simple solutions to get your unit back in working order.
Let’s dive into some of the common issues you might face and how to troubleshoot them effectively. I’ve gathered a list of symptoms and immediate fixes that will help you get started on the right foot!
Identifying the Symptoms of a Non-Working Kenmore Dehumidifier
The first step in troubleshooting is to identify what exactly is going wrong. Here are some common symptoms that indicate your Kenmore dehumidifier may not be functioning correctly:
- Dehumidifier won’t turn on.
- Bucket full light activated.
- Runs but doesn’t collect water.
Let’s explore these issues a bit deeper to see what might be happening.
When the Dehumidifier Won’t Turn On: Power Supply Checks
If your dehumidifier won’t turn on, the first thing you should check is the power supply. Make sure it’s plugged in properly and the outlet is working. You can test the outlet by plugging in another device to see if it has power.
Additionally, check the power cord for any visible damage. If everything seems fine but your unit still won’t start, it might be time to check the circuit breaker to ensure it hasn’t tripped!
Bucket Full Light Activated: Understanding the Switch Mechanism
When the bucket full light is on, it often means that the water collection bucket is either full or the switch mechanism is malfunctioning. First, remove the bucket and empty it, then ensure it’s securely reinserted. Sometimes, dirt can accumulate on the switch, causing it to trigger incorrectly.
Cleaning around the switch area can help resolve the issue, but if the light stays on despite these actions, the switch may need to be replaced. For similar troubleshooting steps for other brands, you might find our guide on Hisense dehumidifier repair helpful.
Dehumidifier Running but Not Collecting Water: Diagnosing Humidity Levels
If your dehumidifier seems to be running fine but isn’t collecting water, the ambient humidity levels may be too low for the unit to function effectively. Most Kenmore models are designed to work best in environments with humidity levels above 30%.
Check your hygrometer to see the current humidity level. If it’s low, you might want to consider running the dehumidifier in a smaller, enclosed space. If the humidity levels are adequate and it’s still not collecting, further investigation may be required.
Common Problems with Kenmore Dehumidifiers: A Comprehensive Overview
There are several common problems that Kenmore dehumidifiers may face. Here’s a quick look at some issues you might encounter:
- Inconsistent humidity control.
- Water leaks from the unit.
- Unusual noises during operation.
Identifying these symptoms early can help you take immediate action and potentially save on costly repairs down the line.
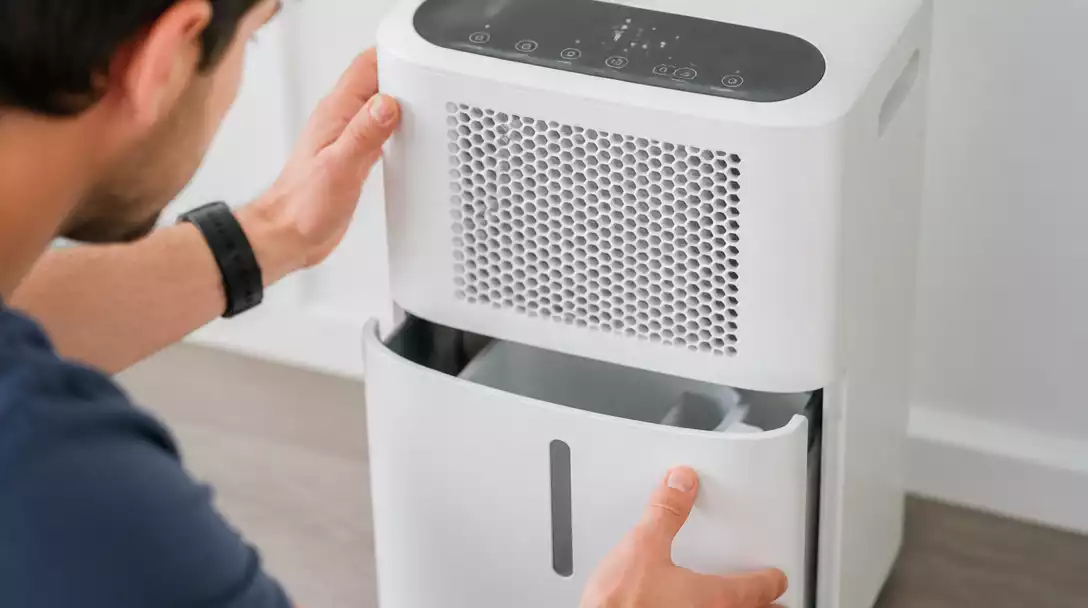
Detailed Diagnosis: Mapping Symptoms to Causes
Once you’ve identified the symptoms, it’s vital to link them to potential causes. This step is crucial for effective troubleshooting. Here’s how you can break down the symptoms:
- Check for common error codes displayed on the unit.
- Evaluate the humidistat and humidity sensors for signs of failure.
- Inspect the control board and compressor for issues.
- Look into electrical problems, including circuit board and thermostat failures.
By taking a systematic approach to diagnosis, you can often pinpoint the exact issue and decide the best course of action for repair.
Common Error Codes Explained: What They Mean for Your Dehumidifier
Error codes can provide valuable insights into your dehumidifier’s issues. Each code typically corresponds to specific problems, such as sensor failures or water level issues. Refer to your user manual to decode these messages and see what actions to take!
Evaluating the Humidistat and Humidity Sensors: Signs of Failure
Check your humidistat and sensors for proper function. If they are malfunctioning, they may give incorrect readings, leading to insufficient moisture control. Look for signs of wear and consider replacing them if you notice any inconsistencies.
Control Board and Compressor Issues: How to Spot and Address Them
Lastly, if you suspect issues with the control board or compressor, be attentive to how the unit operates. Unusual noises or failure to start can indicate deeper electrical issues. If you’re comfortable, investigate these components, but don’t hesitate to call a professional if you’re unsure! For more general tips on fixing a dehumidifier, see our guide on how to fix a humidifier.
Understanding Electrical Issues: Circuit Board and Thermostat Failures
Electrical issues can be tricky but should not be overlooked. Inspecting the circuit board for burnt components or loose connections is essential. If your dehumidifier isn’t responding at all, a faulty thermostat might be at play as well.
Taking the time to diagnose and troubleshoot these common issues can save you both time and money in repairs. Stay tuned for the next section, where I’ll share effective DIY repair techniques for your Kenmore dehumidifier!
Pro Tip
Did you know? Regularly monitoring and adjusting the humidity settings on your Kenmore dehumidifier can significantly enhance its efficiency. Aim for a humidity level between 30% and 50% for optimal performance, and always keep an eye on the surrounding environment to ensure your unit operates effectively.
Frequently Asked Questions About Kenmore Dehumidifiers
Here are some common questions and answers to further assist you with your Kenmore dehumidifier troubleshooting and maintenance:
- Why won’t my Kenmore dehumidifier turn on?
First, check the power supply by ensuring the unit is properly plugged in and the outlet is working. Inspect the power cord for damage and check your circuit breaker to see if it has tripped. - What does it mean when the “bucket full” light is on?
This usually means the water collection bucket is full or the switch mechanism is faulty. Empty the bucket and reinsert it securely. If the light persists, clean the area around the switch, as dirt can cause incorrect readings. If the problem continues, the switch might need replacement. - My dehumidifier is running, but not collecting water. What should I do?
Check the ambient humidity levels with a hygrometer. Kenmore dehumidifiers work best when humidity is above 30%. If the humidity is low, try operating the unit in a smaller, enclosed space. If humidity is adequate and it’s still not collecting water, further diagnosis of components like the compressor or sensors may be necessary. - How do I know if I should repair or replace my Kenmore dehumidifier?
Consider the age of your unit (typically 5-10 years lifespan) and the cost of repairs. If repair costs exceed half the price of a new unit, or if you’re frequently dealing with issues like compressor problems or sensor malfunctions, replacement might be more economical. Newer models also offer better energy efficiency. - What maintenance can I perform to extend my dehumidifier’s lifespan?
Regular maintenance is crucial. Clean or replace filters monthly, check coils for dust buildup, and ensure the unit is level with proper drainage. After any repair, thoroughly test the unit for proper functionality, unusual noises, leaks, and effective humidity reduction.
Making the Decision: Repair vs. Replace Your Kenmore Dehumidifier
When your Kenmore dehumidifier starts showing signs of distress, the big question always arises: should you repair it or replace it? It’s crucial to weigh the repair costs against the age of your unit. If your dehumidifier is nearing the end of its life expectancy, which is typically around 5 to 10 years, investing in repairs might not be the most prudent choice.
To help clarify your decision, here are some key factors to consider:
- Cost of repairs versus the price of a new unit.
- Current age of your dehumidifier.
- Frequency of previous repairs.
- Energy efficiency of newer models.
These elements can guide your decision-making process as you evaluate whether fixing your current dehumidifier is worth it or if it’s time to say goodbye and invest in a new one.
Evaluating Repair Costs Against the Age of Your Dehumidifier
When considering repairs, the age of your Kenmore dehumidifier plays a significant role. Older models may require more frequent fixes, and if the repair cost exceeds half the price of a new unit, it’s likely time to consider a replacement. Keeping track of the repair history can provide insight into whether it’s worth holding onto your existing model.
For example, if you find yourself constantly dealing with issues like:
- Repeated compressor problems.
- Frequent sensor malfunctions.
- Increased energy bills due to inefficiency.
In these cases, the expenses can add up quickly. Always weigh these factors against your unit’s expected lifespan.
Post-Repair Maintenance and Testing to Extend Lifespan
Once you decide to repair your dehumidifier, it’s essential to think about maintenance to ensure longevity. Regular upkeep can prevent future breakdowns and maximize performance. Simple routines can go a long way in maintaining efficiency and reliability.
- Clean or replace filters monthly.
- Check the coils regularly for dust buildup.
- Ensure the unit is level and has proper drainage.
Implementing these maintenance routines can help you keep your Kenmore dehumidifier in top shape, potentially extending its lifespan significantly. For more specific repair advice on components, consider our article on dehumidifier fan motor repair.
Testing the Dehumidifier After Repairs: Ensuring Proper Functionality
After any repair, it’s crucial to test your dehumidifier to ensure everything is functioning correctly. Turn on the unit and monitor its operation for several hours. Check for any unusual noises or leaks, and make sure the humidity levels are dropping as expected. If anything seems off, it might be worth revisiting the repair.
Have a checklist handy to track your observations. This can help ensure you don’t miss anything important during testing:
- Is the unit running quietly?
- Are water levels being collected?
- Is there a noticeable change in humidity levels?
Being thorough in your testing can save you from headaches down the road!
Your Kenmore Dehumidifier Repair Journey: Key Takeaways
As you navigate your repair versus replace decision, remember that careful evaluation and maintenance are key to getting the most from your Kenmore dehumidifier. Make sure to take notes during your repair journey—this knowledge will serve you well in the future!
Recap of Key Points
Here is a quick recap of the important points discussed in the article:
- Identify symptoms like the unit not turning on, bucket full light activated, or running without collecting water.
- Check power supply and ensure the bucket is empty and properly inserted if the unit won’t turn on.
- Evaluate humidity levels; ensure they are above 30% for optimal dehumidifier performance.
- Look for common issues such as inconsistent humidity control, water leaks, or unusual noises.
- Weigh repair costs against unit age and previous repair history before deciding to repair or replace.
- Regular maintenance, such as cleaning filters and checking coils, can significantly extend the lifespan of your dehumidifier.
- Test the unit after repairs to ensure proper functionality and monitor for any unusual signs.